Before I try my idea about powering up the Bukito to connect to the com port, I notice that there is an Arduino app on the desktop now. I open it and try connecting to the USB port with a Teensyduino option, and there it is. But launching Repetier-Host still shows the printer in a Disconnected state.
Okay, that's not it. We turn on the Bukito, and hear various motors power up, but the Repetier printer status stays stubbornly Disconnected.
Suddenly, a driver download notification opens in the lower right corner of the screen. Printer connected on COM3, it tells us. VOILA!
We now have the option to select COM3 as the serial port in the Printer Settings, and save that setting to our "Bukito PLA on USB" printer. I will set up other printers for other filament types, so I can vary the temperature configuration. (Eventually we will add a heated bed to the printer as well, and that will require printer settings to change.)
With the correct port pointed out, we can now connect Bukito PLA on USB and the controls for the test flight and tramming process come alive.
First Noodle
Following the step-by-step instructions from Deezmaker is suddenly simple. It seems the settings we guesstimated yesterday are appropriate, because the test for homing on X, Y and Z axes goes off without a hitch.If there is any issue with the instructions, it is that sometimes it is not clear whether the control cited in a step is in the Repetier-Host program or on the Bukito itself. We figure it out, though, with assistance from the online manual for the Repetier software, and my spouse's memory of discussions from the Deezmaker forums.
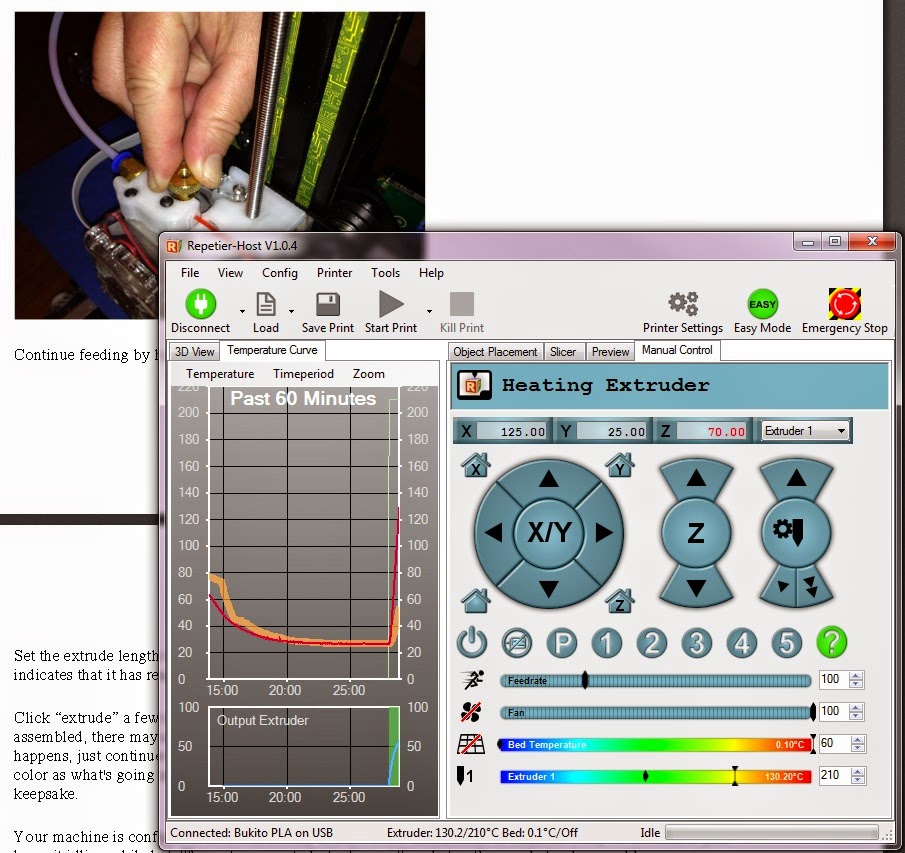
The moment we pop the Manual extruder control, getting a dribble of the white filament that was still in the machine, is magical. I can well understand why people are driven to preserve their "first noodle".
We carefully set it aside, as well as the first red noodle of PLA from our own reel.
Tramming With the Downloaded Script
The second part of the test flight involves downloading the G-code file that holds the instructions for a sliced print. We thought it would start printing right away, but the first instructions send the nozzle to the right front corner of the bed, then pause until you set the bed vertical position to almost touch the nozzle in that corner. We tested with a piece of paper, which just slid between the bed and nozzle, with a palpable "friction".Clicking the Continue Print button then moves the nozzle to the front left corner and pauses to allow a second adjustment. This corner needed adjustment—we shifted the bed too far from the nozzle at first, and spent quite a while backing it up to the correct position.
The tramming then proceed to the bed's back edge, and back to the front corners to verify that no additional adjustment was required.
Suddenly—Printing!
The Repetier software does a good job of predicting the time required to print. Since we haven't mounted the extruder fan yet, we have deliberately kept the print speed low, but the whole first print still takes only 15 minutes.
What's Next?
The September Project is complete, because we've got the printer working. But there are some things we still want to explore, not necessarily in this order:- Mount the extruder fan so we can speed up the feed rate
- Download (and scale for the Bukito) a 3D model from a library. I have my eye on a tentacle stand for my Kindle, which sits on Thingiverse as "213990"
- Modify G-code to tweak a print
- Figure out how to print from an SD card
- Create our own 3D model using Trimble SketchUp (a simple one is a cookie cutter, a more complex idea I'll hold back as it may be commercially useful)
- Develop a presentation incorporating 3D model creation, G-code controls, and production of prints, for delivery to middle-school or high-school STEM groups.
That last was our original "excuse" for getting the 3D Printer in the first place. I do not say motivation; the motivation was two people who both wanted to play with one ourselves.
I'll keep you posted.


No comments:
Post a Comment